
To change the domain of your instance in DriftWP, follow these steps outlined in the DriftWP Documentation:
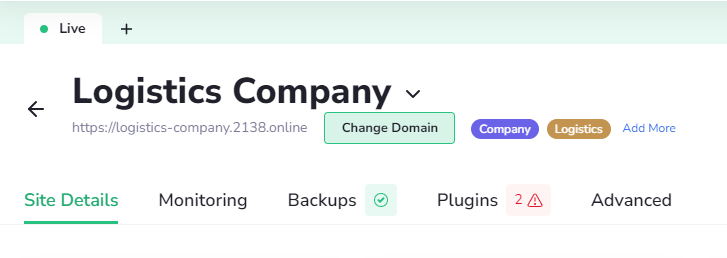
Navigate to Instance Details: Access the management interface of your DriftWP service. Once you're logged in, locate and open the instance details section of your service.
Locate Change Domain Function: Within the instance details, look for the "Change Domain" button. This button is typically located under the name of your instance.
Enter the New Domain: Once you click on the "Change Domain" button, you will be prompted to enter the new domain name you wish to use. Type in your desired new domain name.
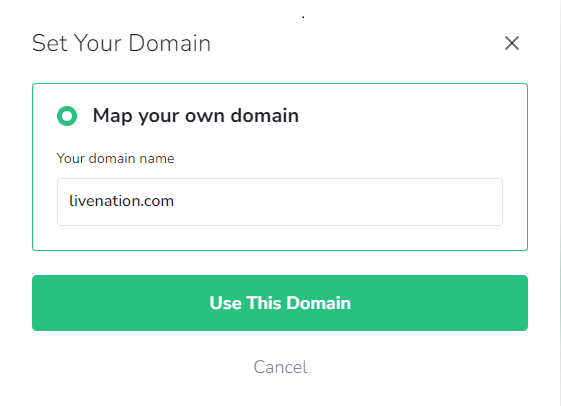
Save the New Domain: After entering the new domain name, click the "Use This Domain" button to save the changes.
Configure Nameservers: The only method to connect your domain properly and ensure the best quality service is to change your domain's nameservers to those specified by DriftWP. This is crucial as it aligns your domain with our network infrastructure.
By following these steps, you can successfully change the domain associated with your DriftWP instance. Make sure to update any associated configurations that might be affected by the domain change, such as SSL certificates or email settings. If you encounter any difficulties, consulting DriftWP support documentation or reaching out to their customer service for assistance would be beneficial.