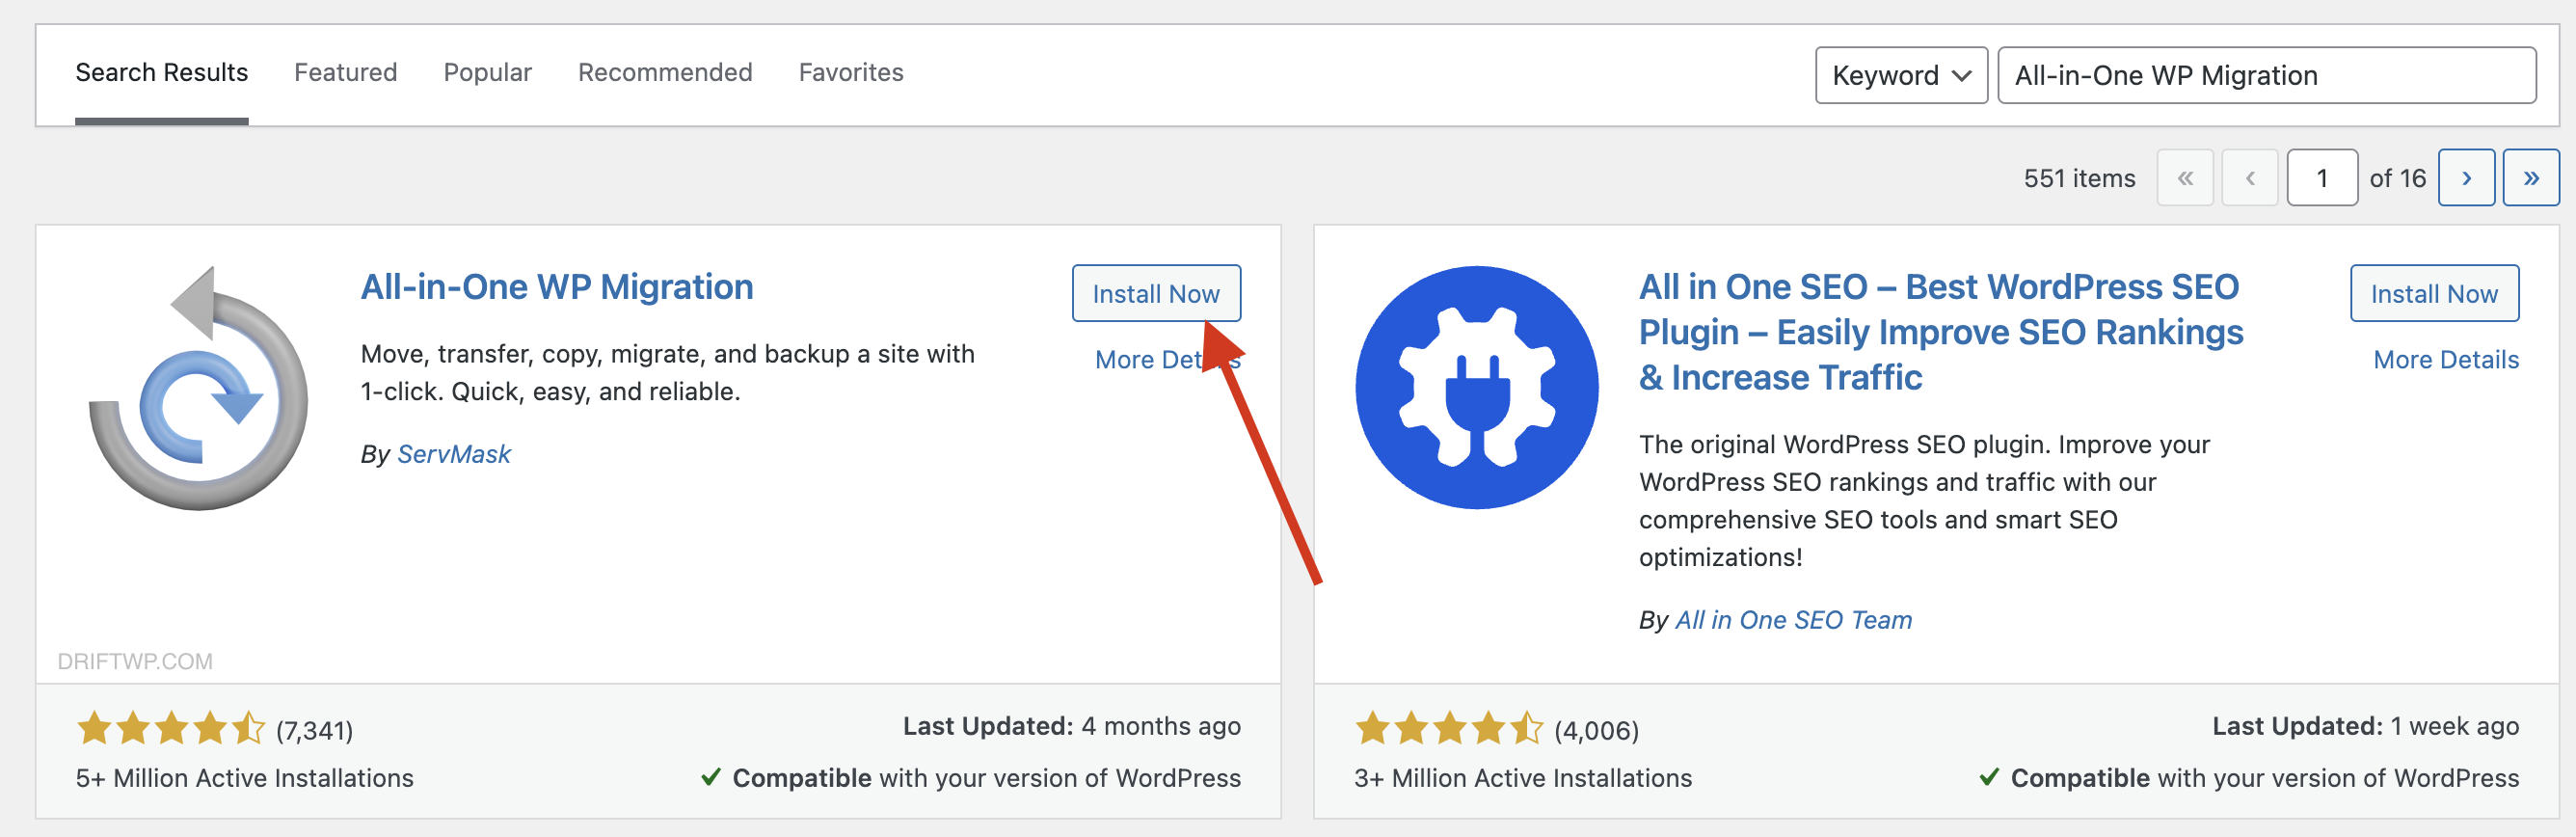
Step 1: Setting Up the All-in-One WP Migration Plugin
Kickstart your website's transition by integrating the All-in-One WP Migration plugin into your WordPress environment. Here's how to get rolling:
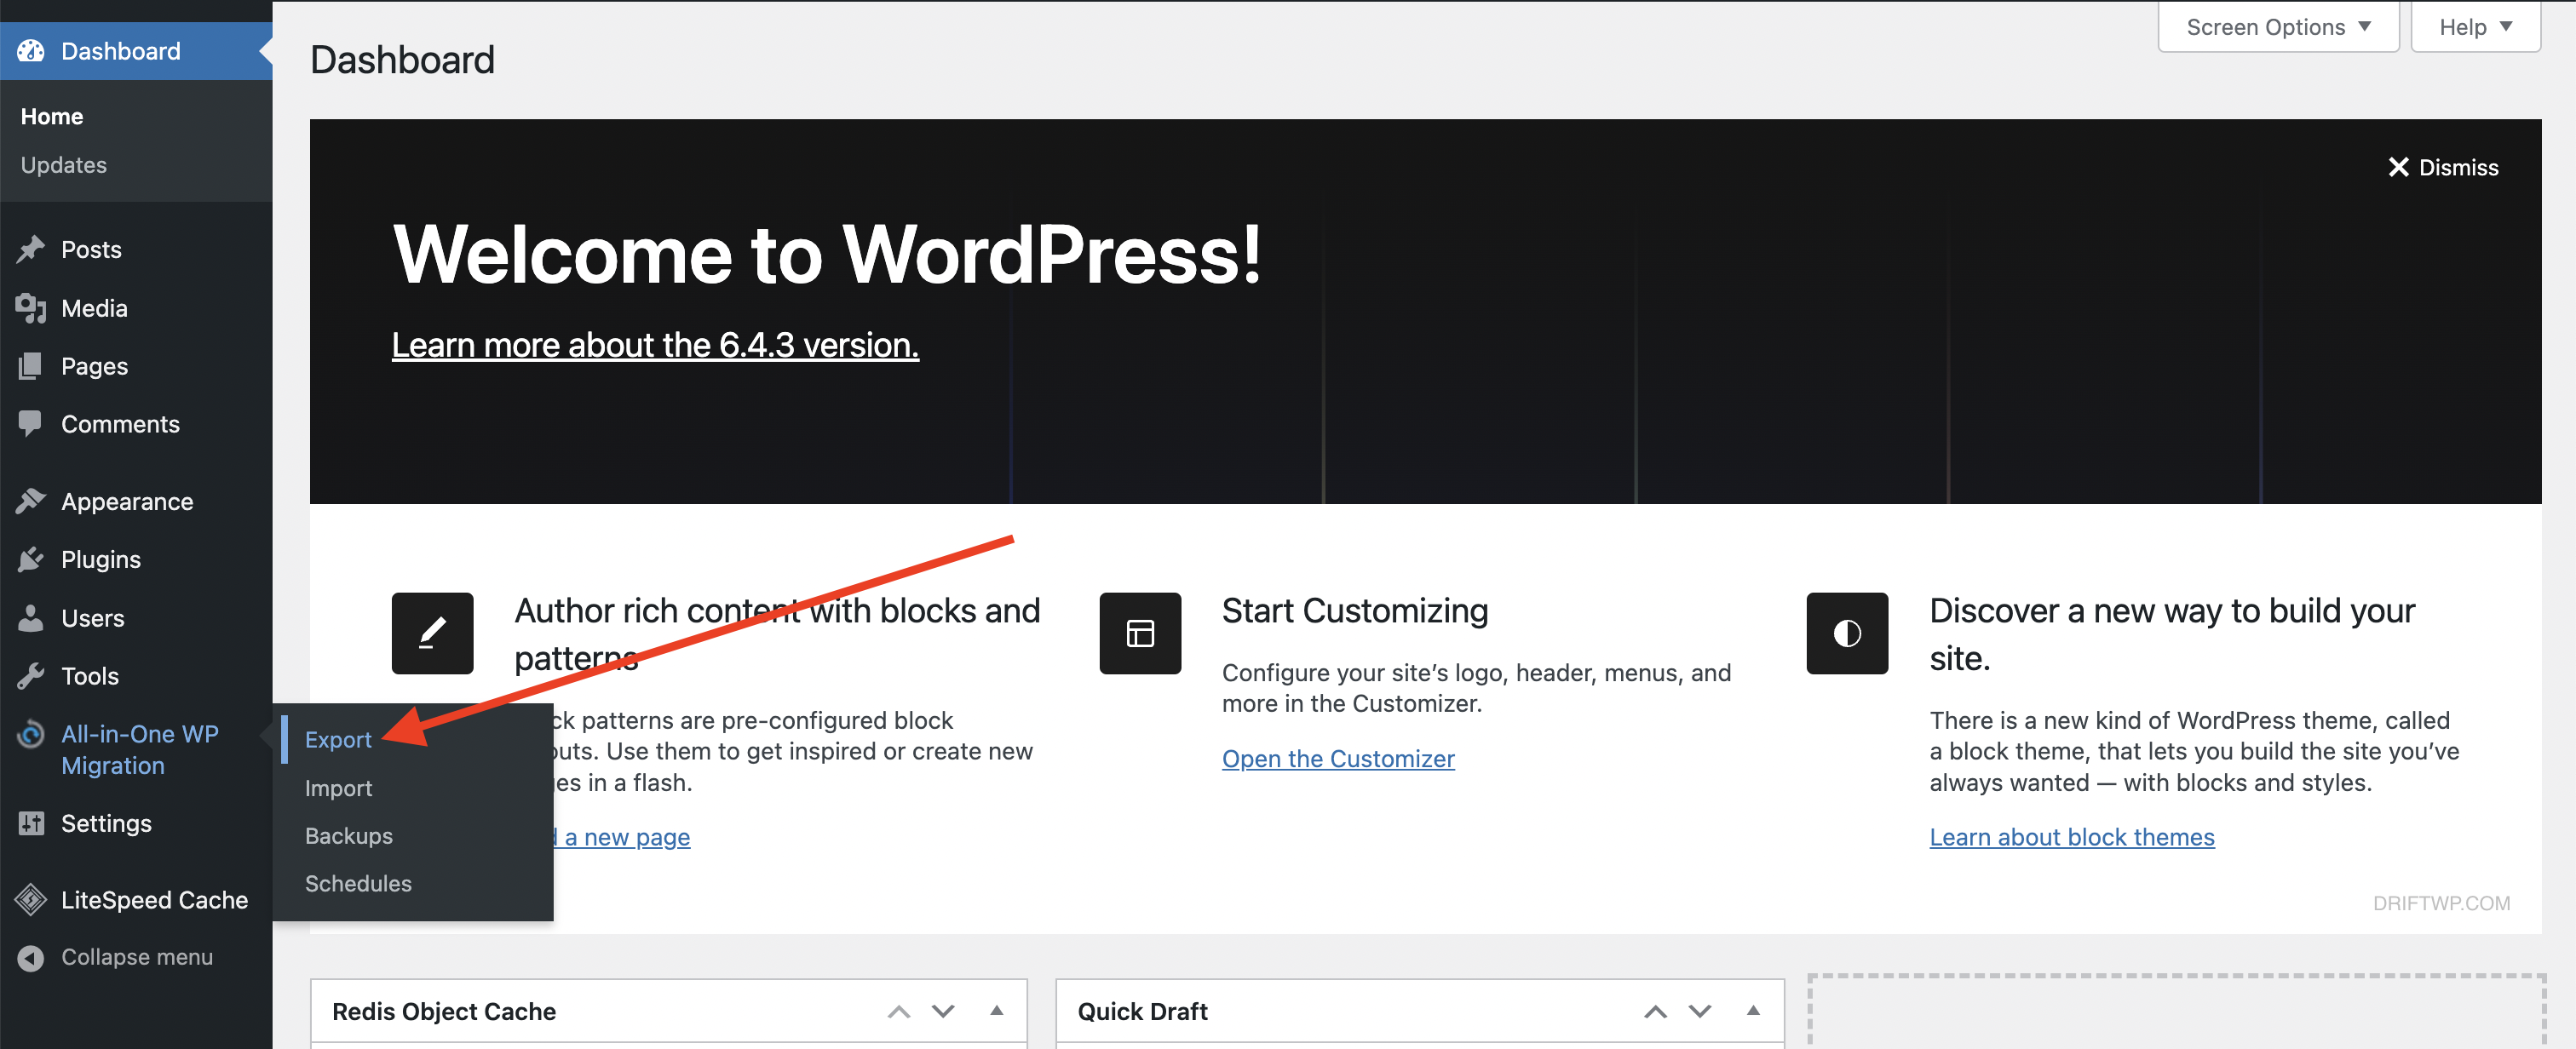
Step 2: Exporting Your Site with Ease
With the All-in-One WP Migration plugin ready, exporting your site is a breeze:
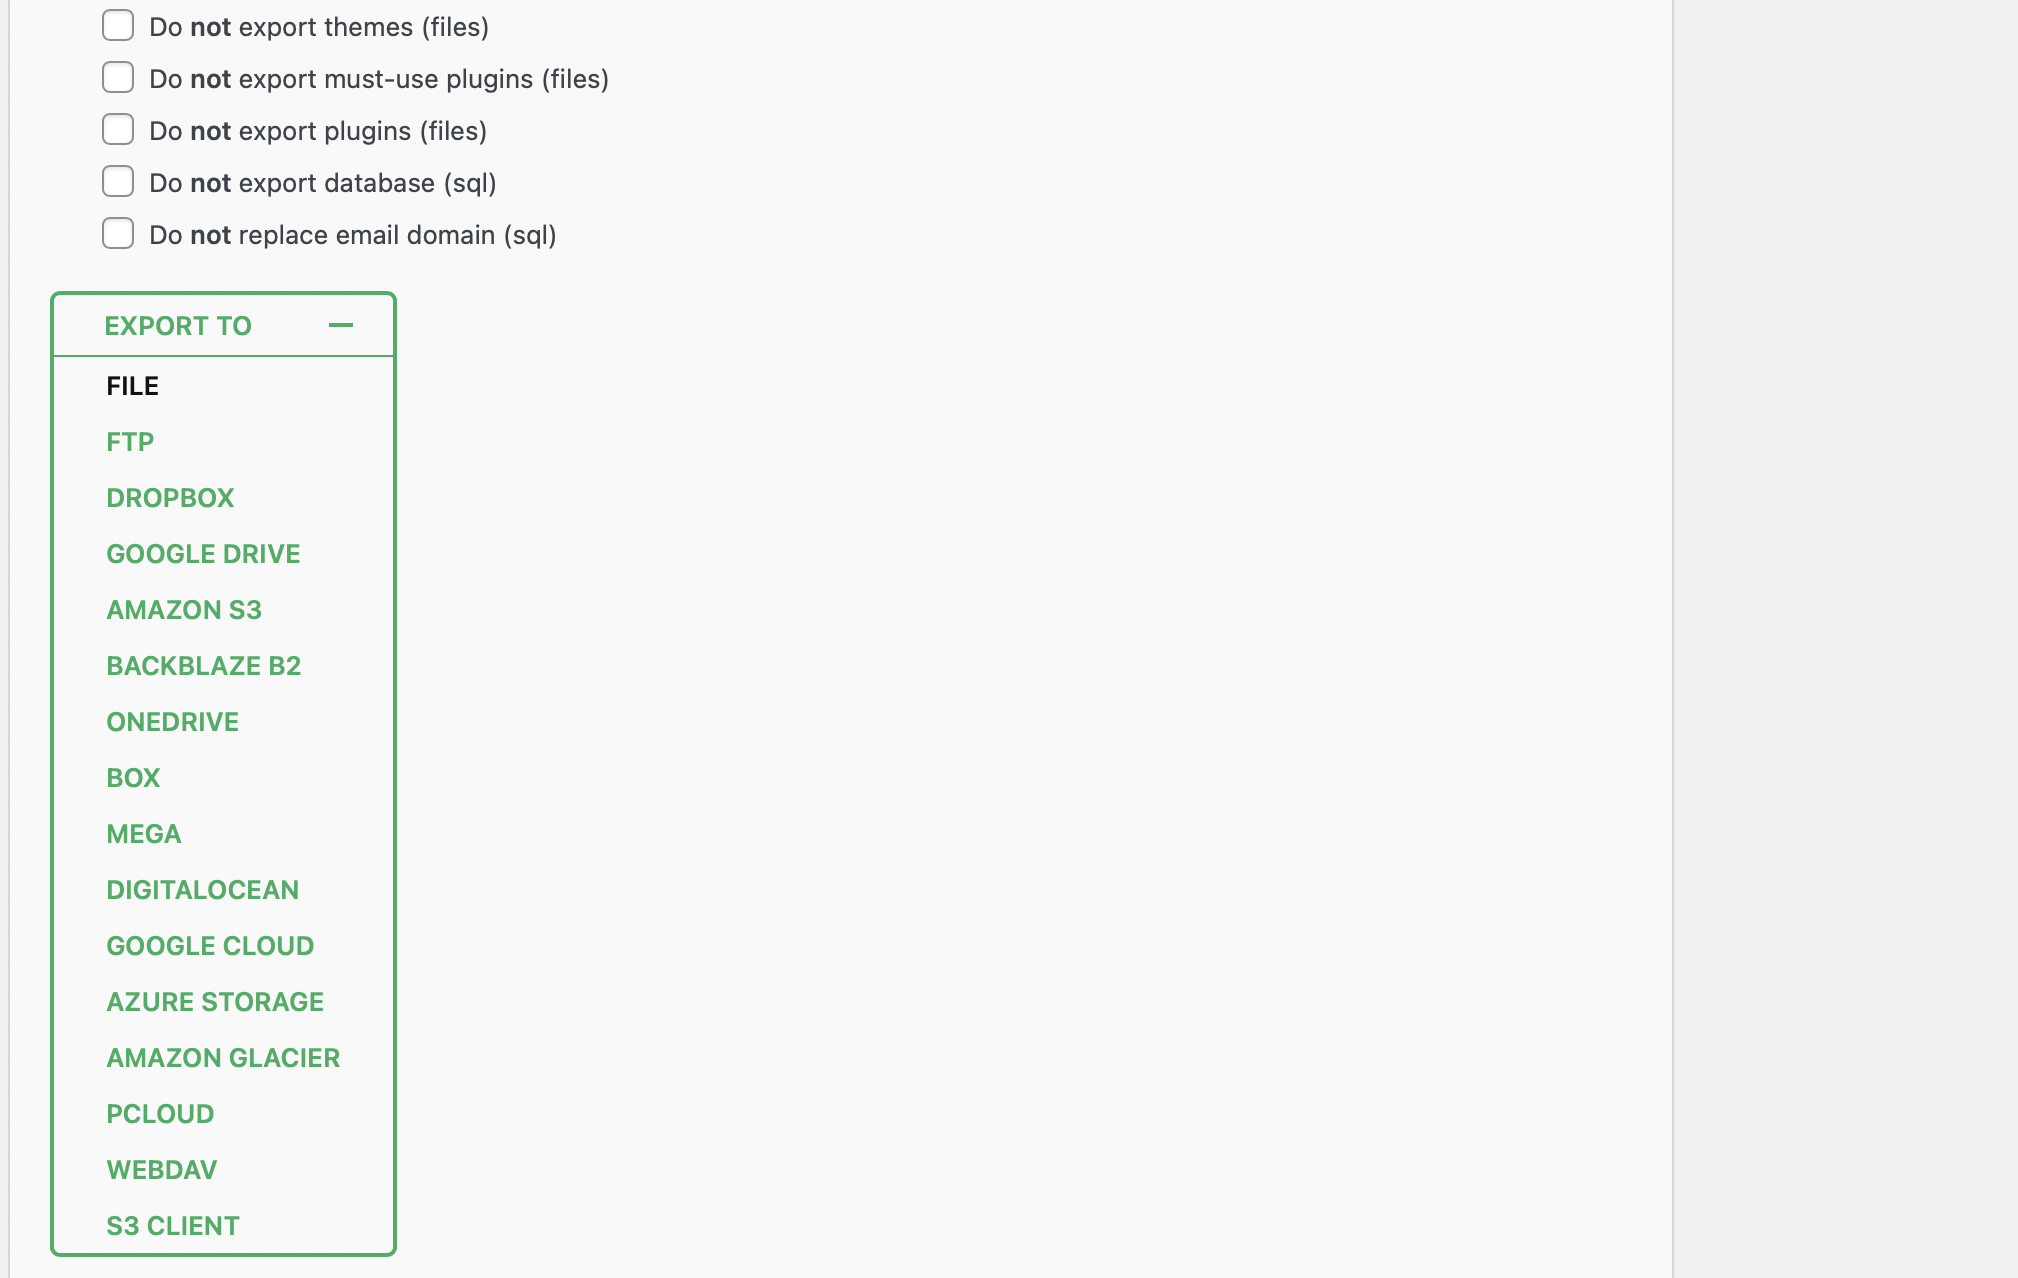
The export process will begin. Typically, this only takes a few seconds. However, if you have a particularly large website with lots of data (such as an ecommerce store), this process may be slightly longer.
You’ll then be able to download your website by clicking on the Download link in the popup box:
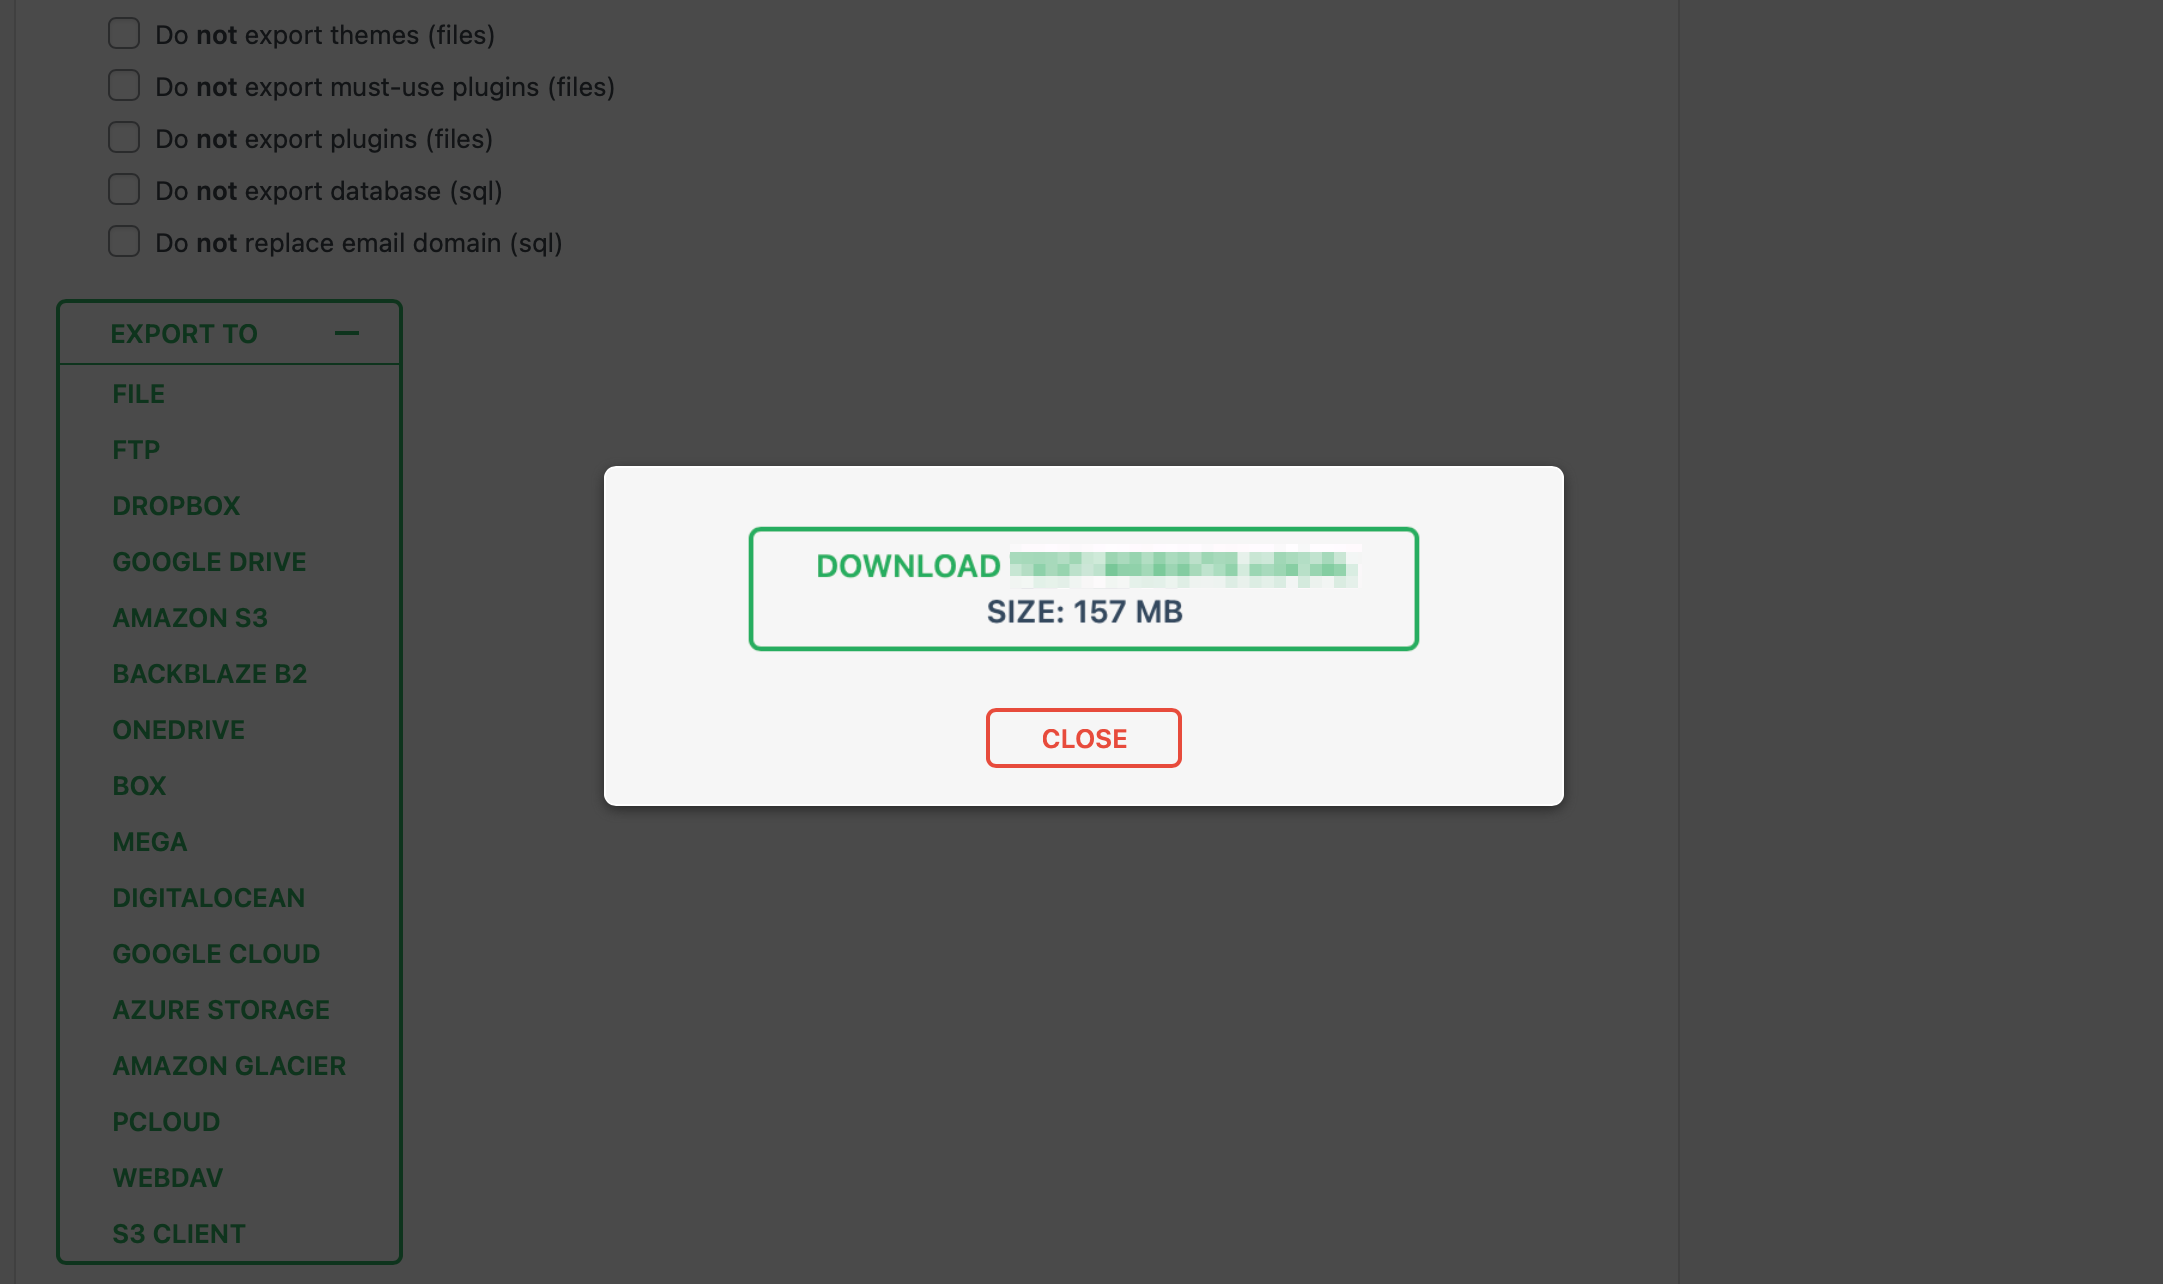
At this point, you’ve exported your WordPress website with the All-in-One WP Migration plugin. Now you’re ready to import the data to a new website.
Therefore, you’ll need to head over to your new WordPress website (this might be with a new host or just on a different server). Install and activate the All-in-One WP Migration plugin, just as you did in the first step.
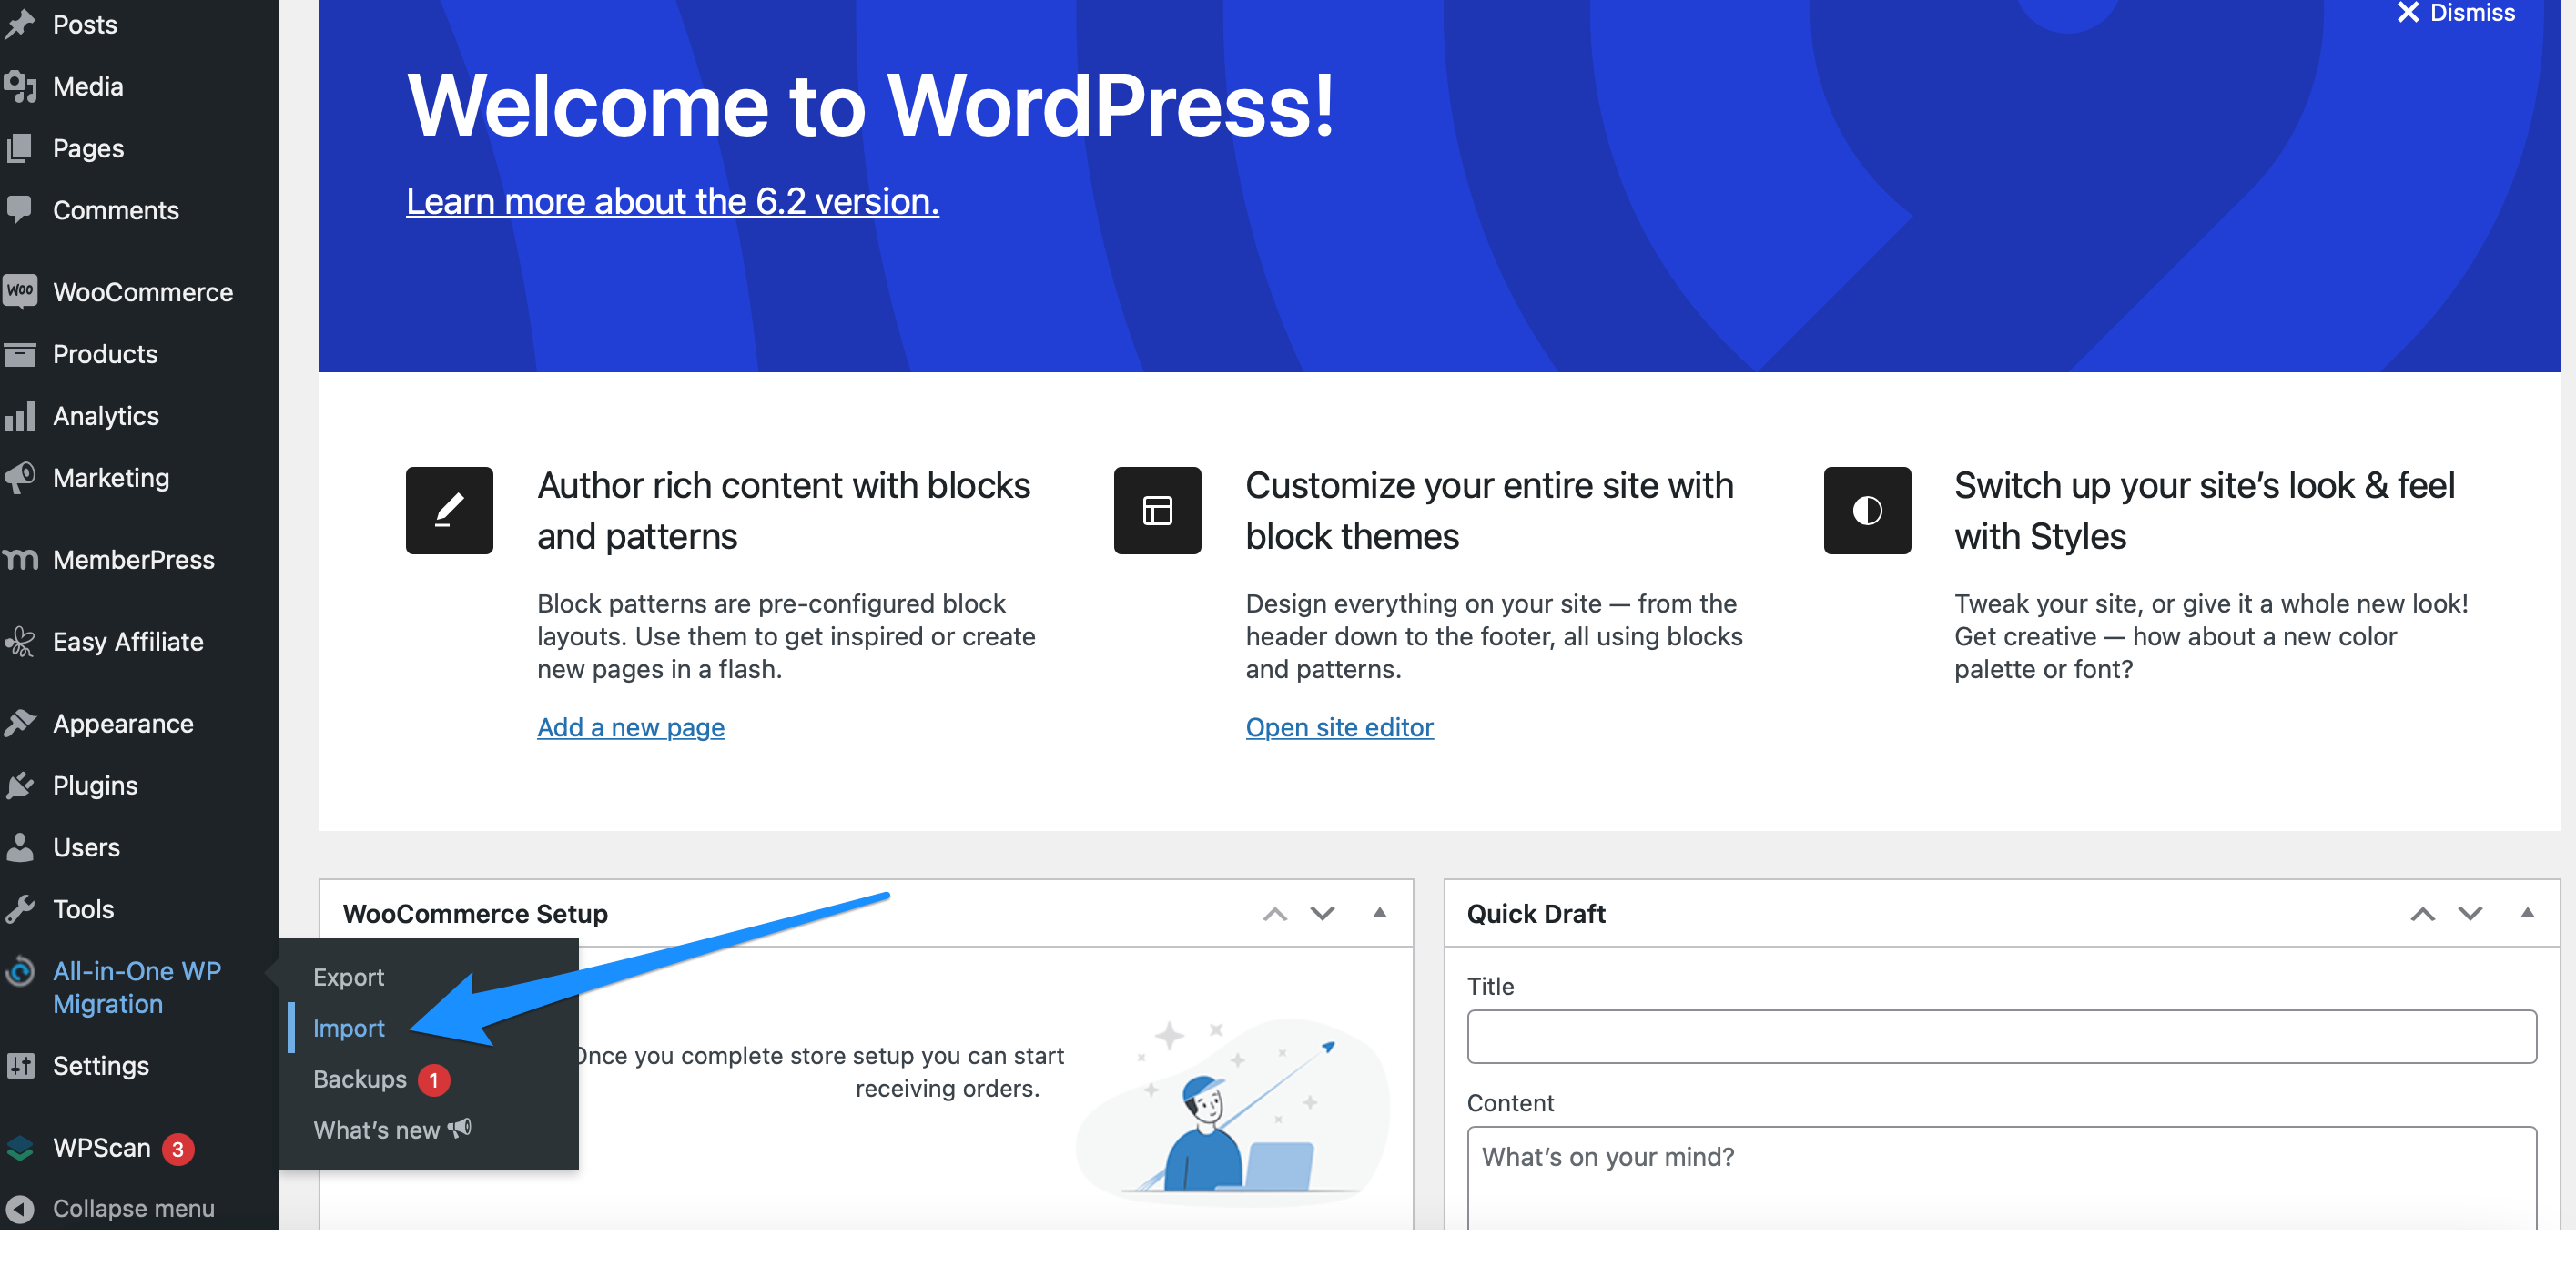
Then, to begin your All-in-One WP Migration import, navigate to All-in-One WP Migration in your WordPress dashboard and select Import:
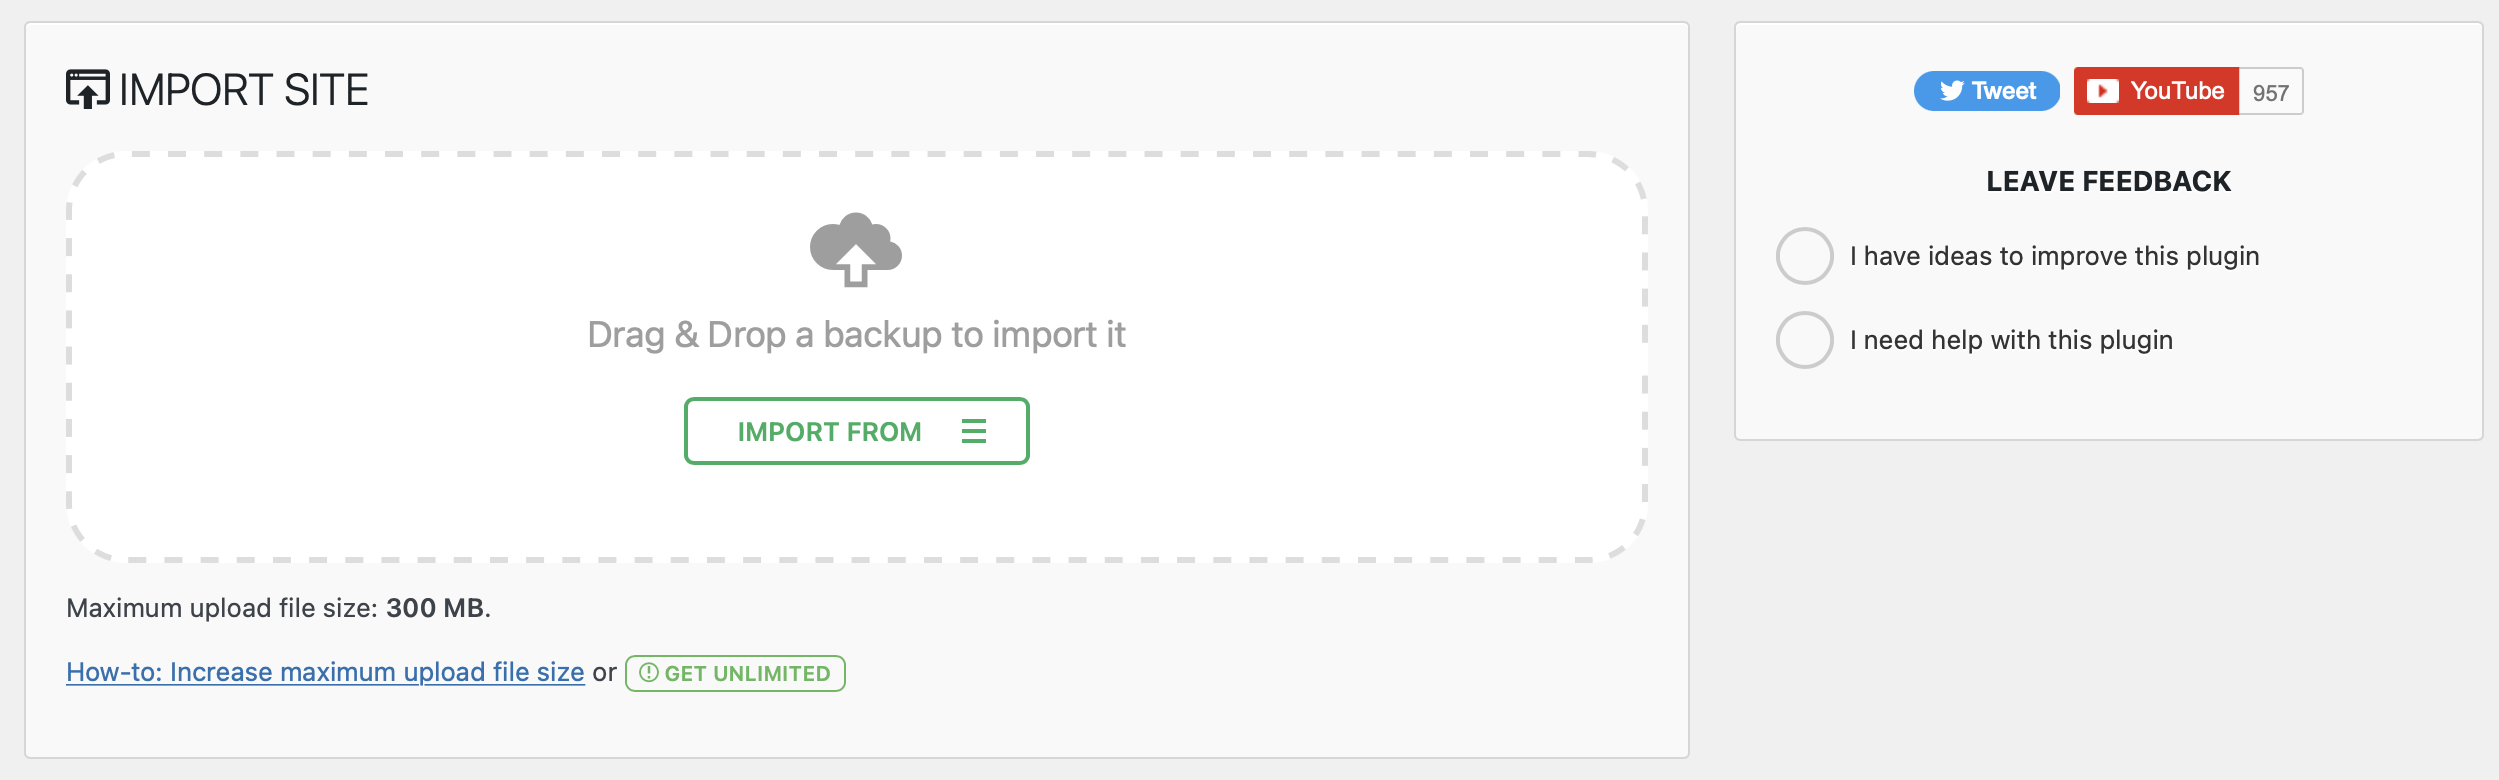
Find and upload your WordPress export file – the one you created in the previous step of this tutorial.
At this point, the import process will begin. The time this takes will depend on your new host and the size of the migration file.
The plugin will warn you that this process will overwrite your database, media, plugins, and themes. Therefore, it’s a good idea to make sure that you have a backup of your site in case anything goes wrong. Click on Proceed to continue:

Once the import process is complete, you’ll receive a notification:
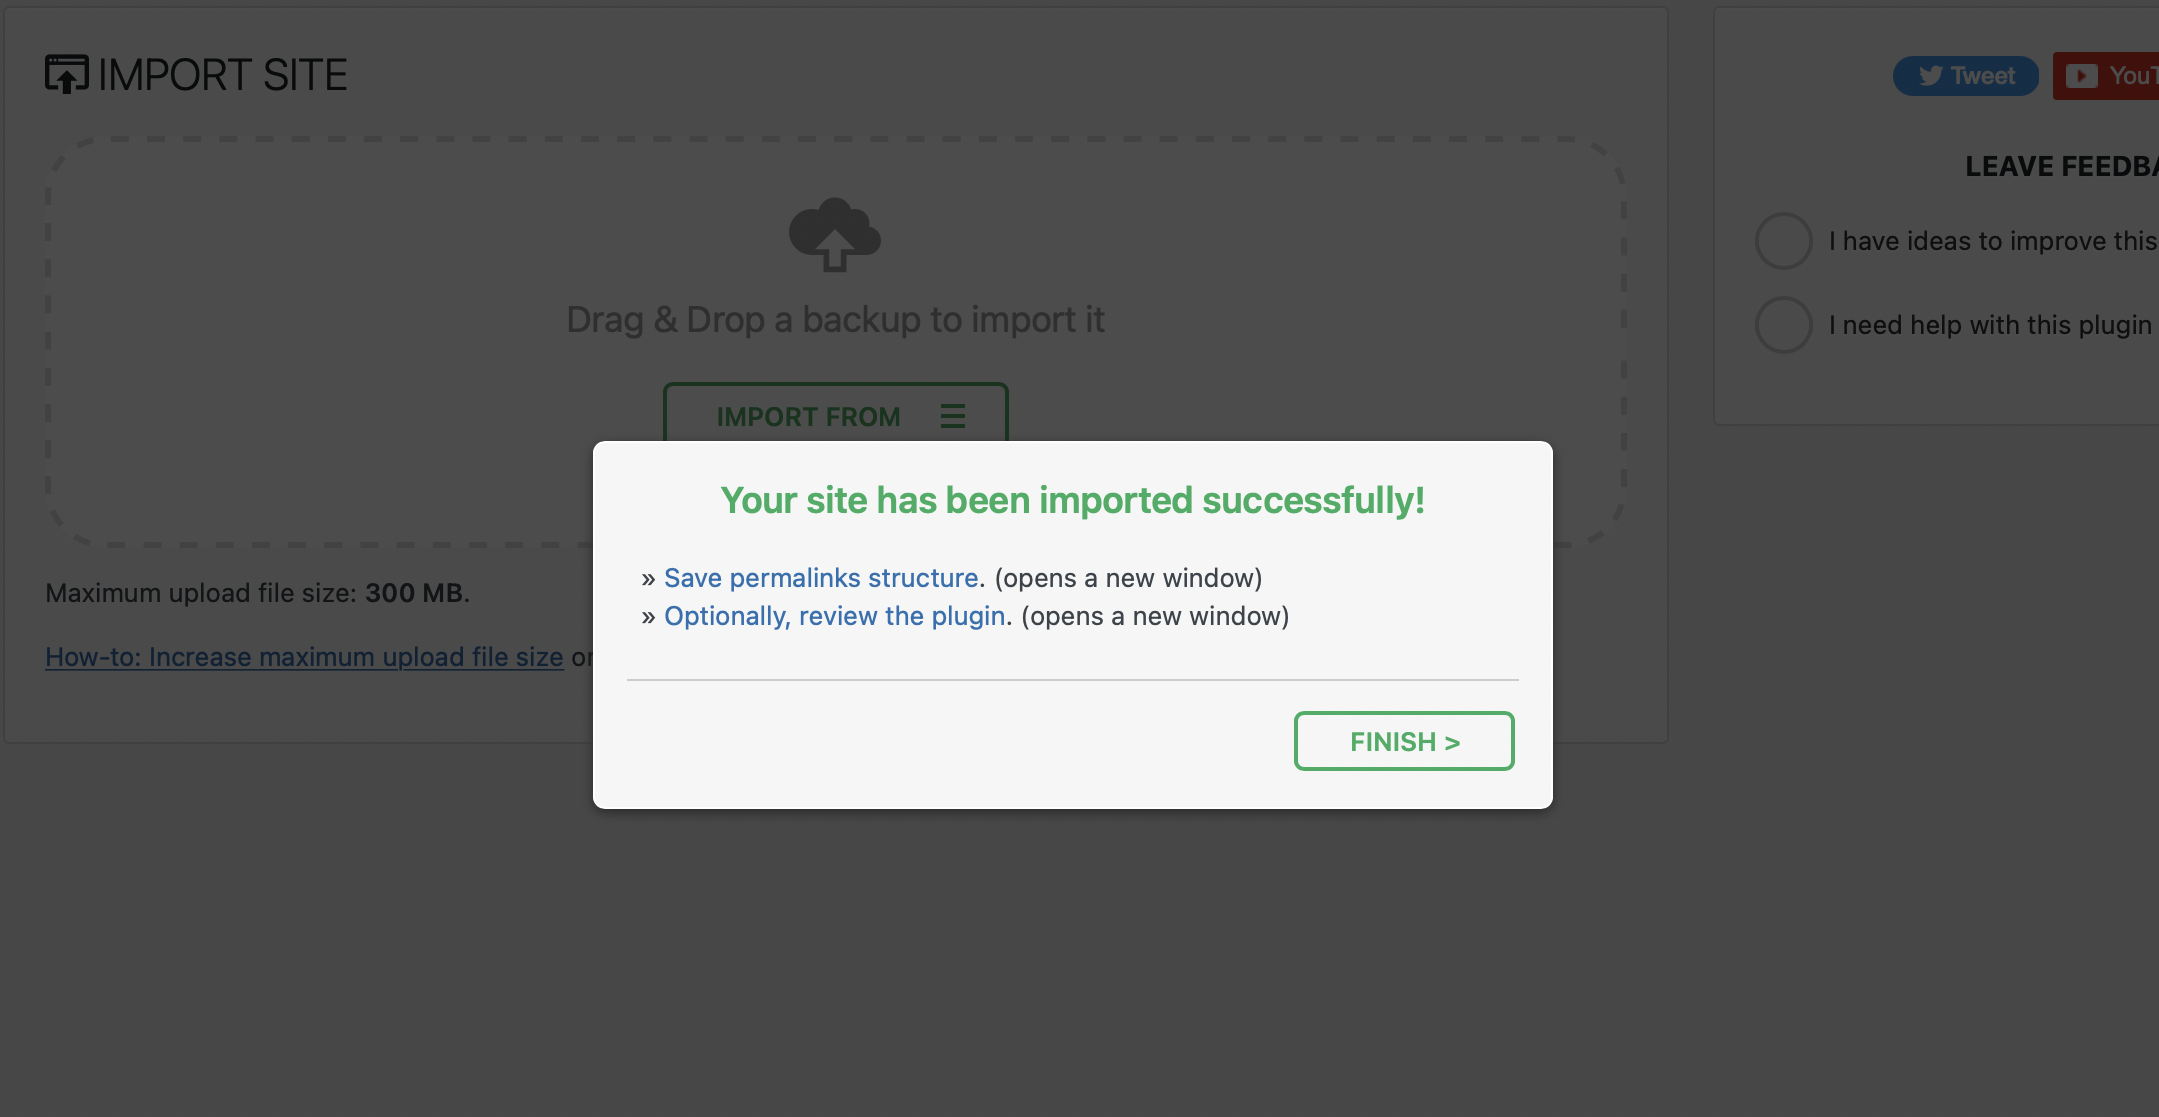
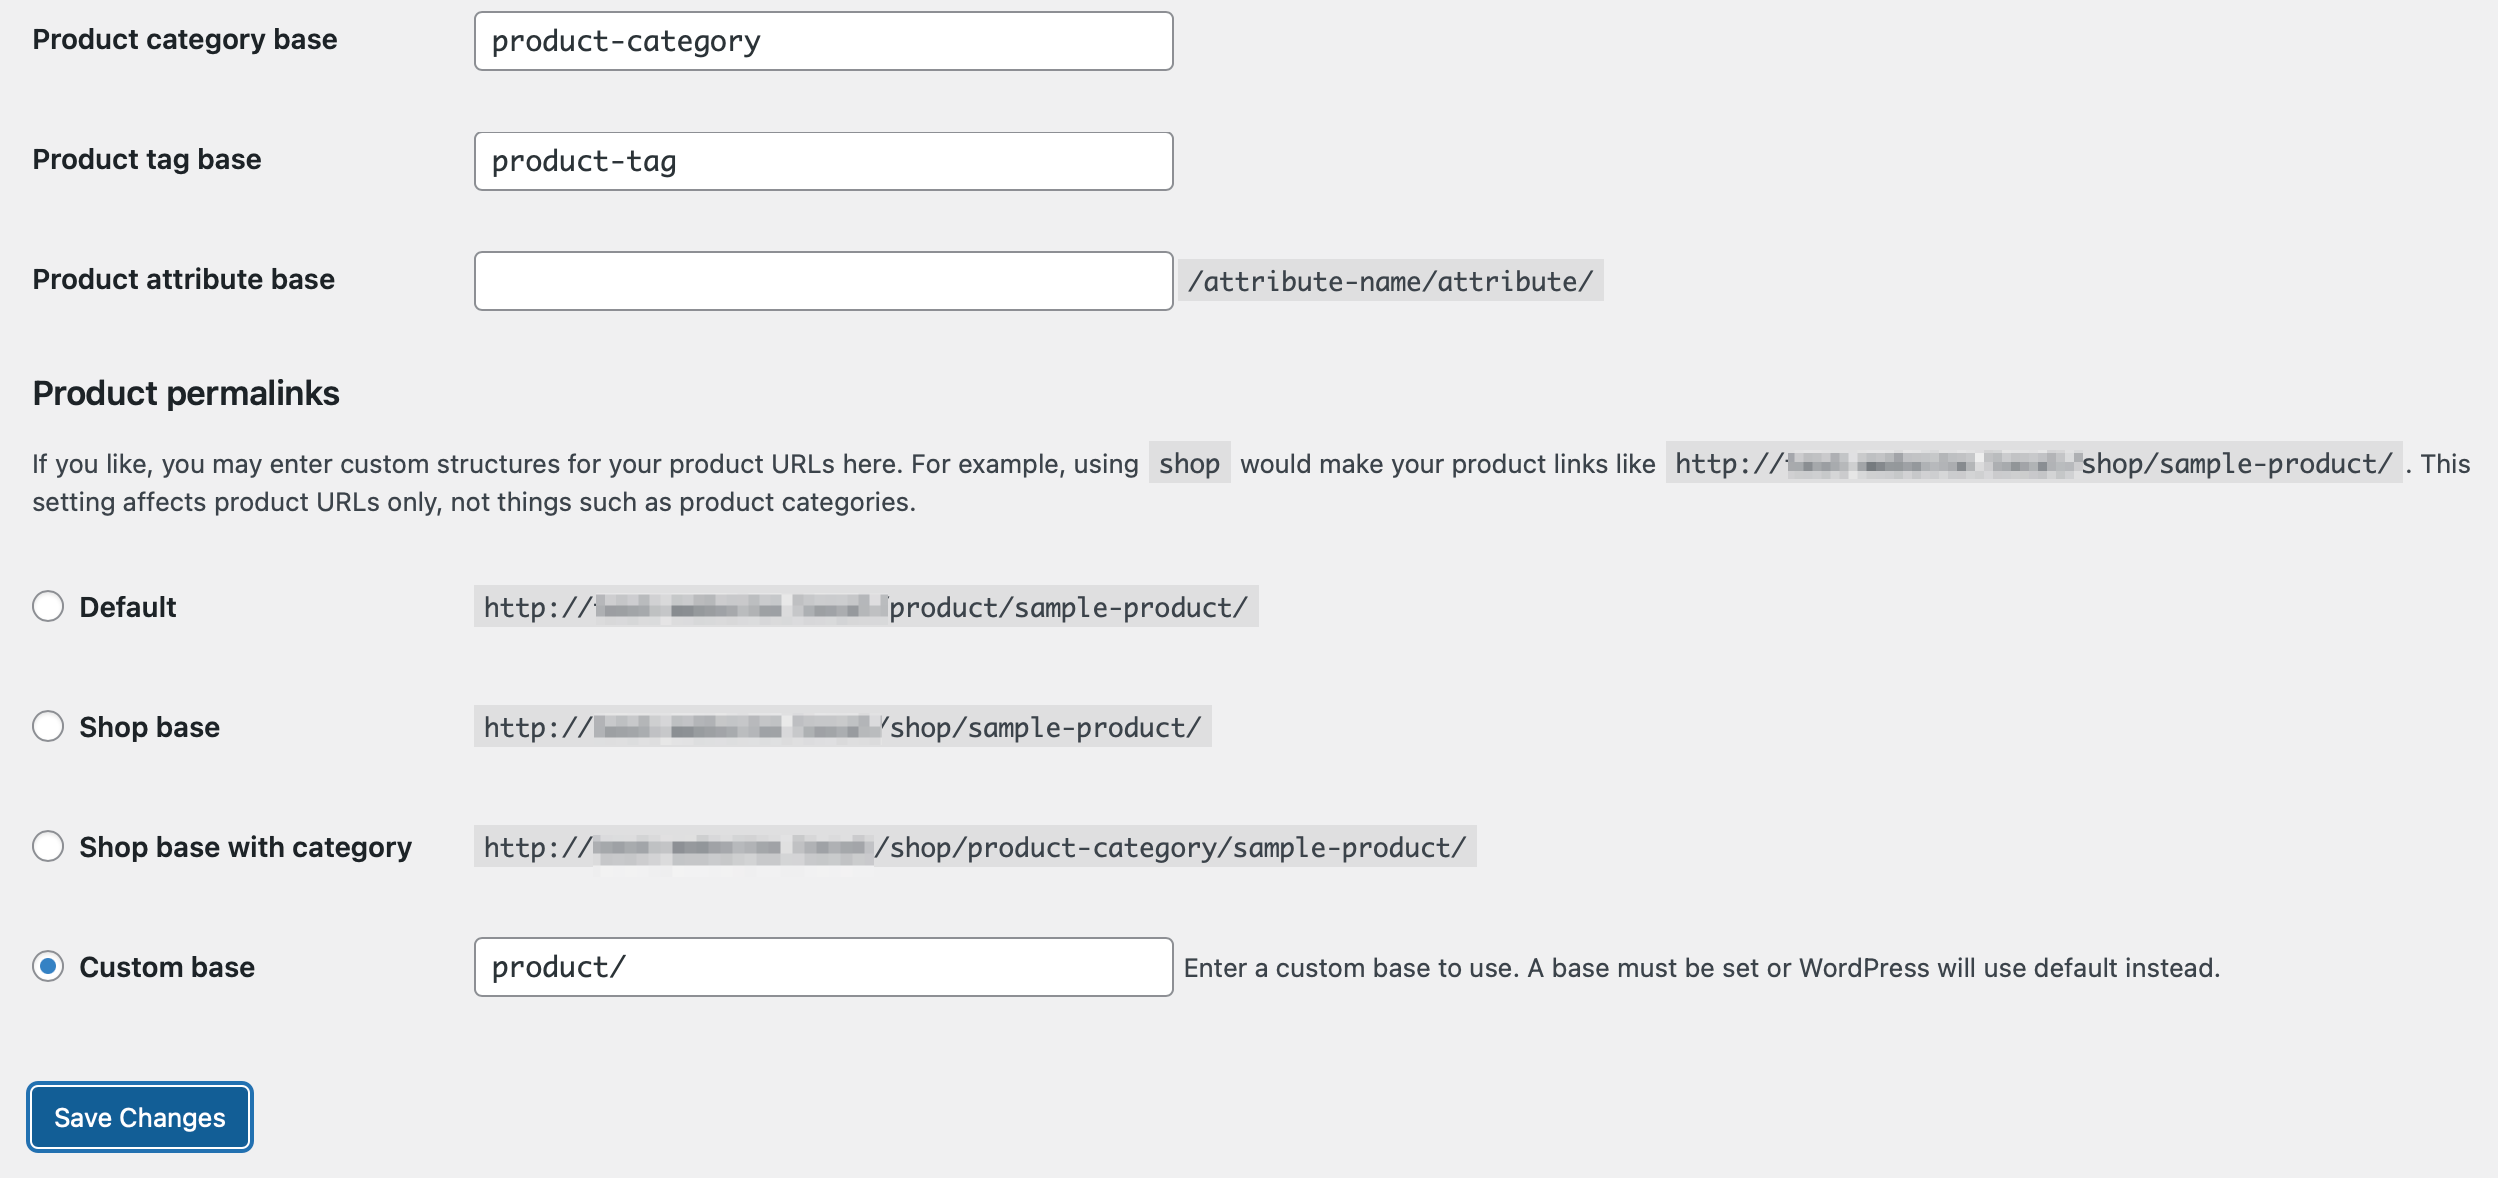
The import is nearly finished at this point. All you have to do now is just reset WordPress’ permalinks settings. This is kind of a left-over from the way WordPress configures websites. There’s no backstory here to understand about this step – it just needs to be done.
Click on Save permalinks structure. This page will open in a new tab. You might also find that you’ve been logged out of your website. If so, you’ll need to log back into your new website, using the credentials from your old WordPress site.
Now, you should be able to see your permalink settings. Scroll to the bottom of the page, and click on Save Changes twice to complete the import. At this point, you’ve successfully migrated your WordPress site using the All-in-One WP Migration plugin!