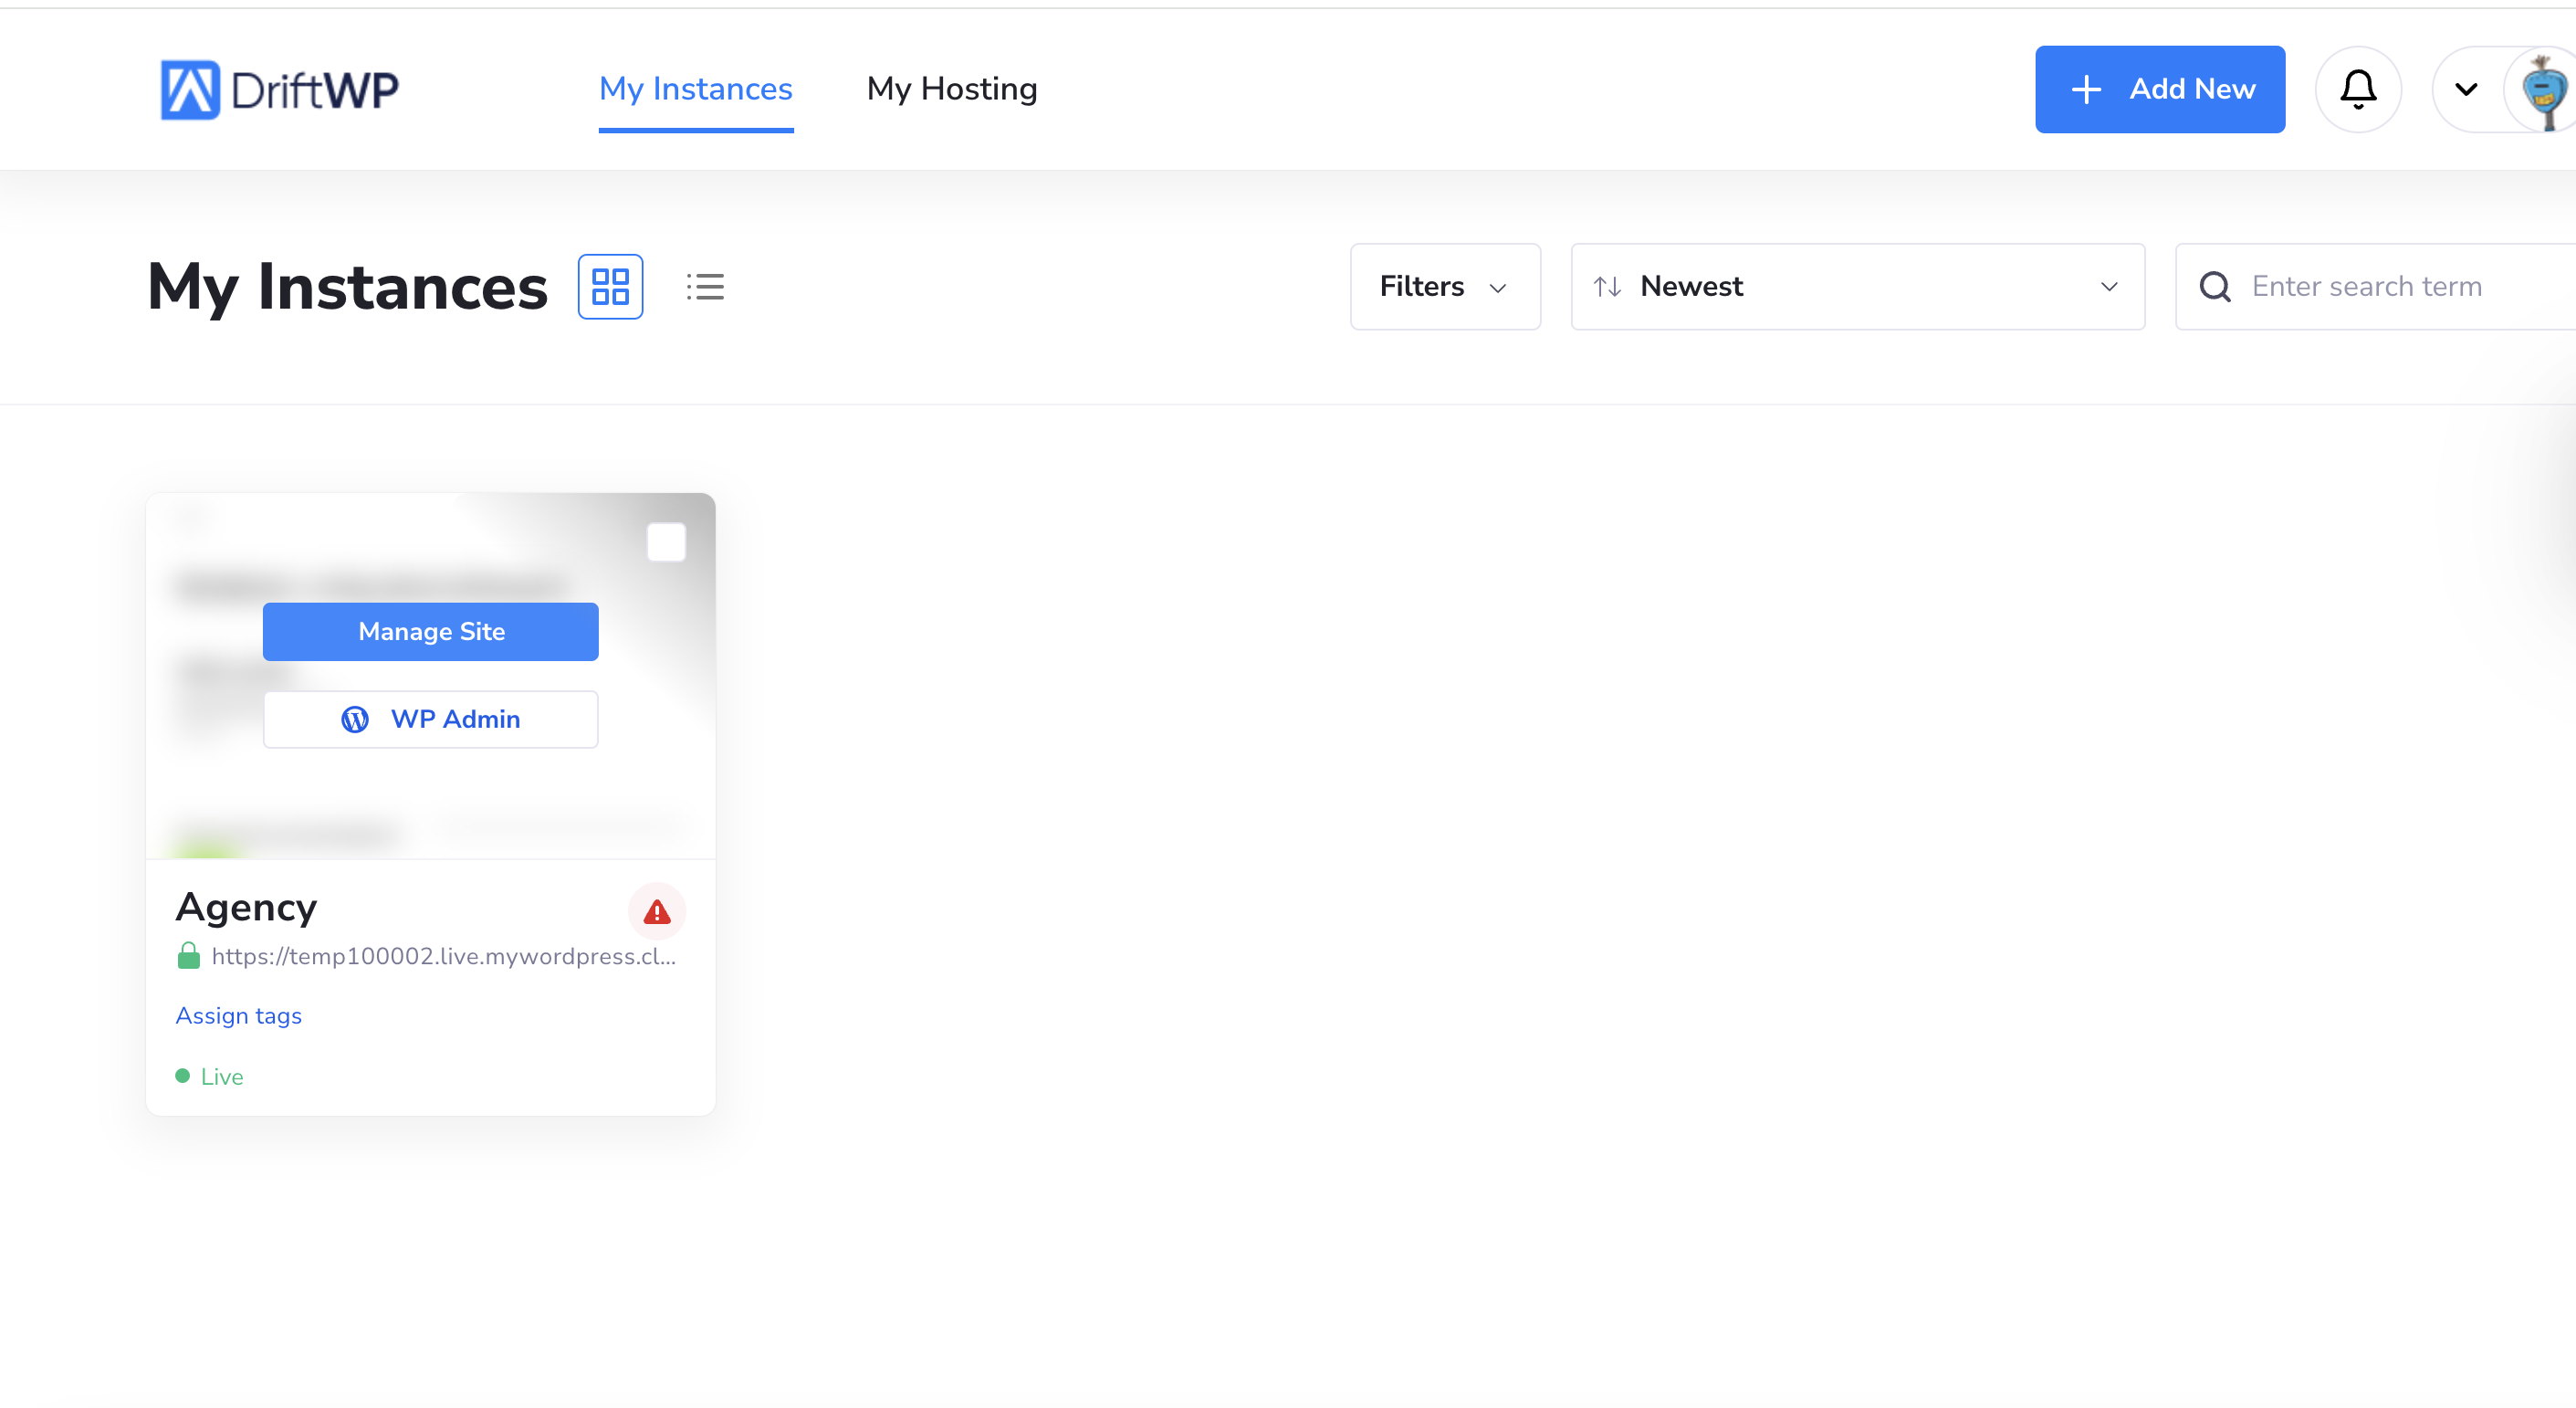
After successfully adding and installing your instance, you can access its details page by clicking on the instance name in the list view or selecting the "Manage Site" button in the tiles view.
The details page for each instance is a comprehensive hub for managing your site, offering a variety of up-to-date information and functionalities. We'll explore each section to help you navigate and utilize these features effectively.


Navigation: Client Area > Instance Details > Live/Staging
At the top left of the instance details page, two buttons allow you to toggle between the Live and Staging environments. If a staging version hasn't been created yet, click the "+" icon to initiate its setup. Once the staging site is ready, the "+" icon will change to a "Staging" button, allowing for easy access.

Navigation: Client Area > Instance Details > Domain
Directly beneath the Live/Staging toggle, the instance name appears with an adjacent "edit" button, enabling you to rename the instance as needed. A dropdown arrow next to the instance name allows for quick switching between instances without returning to the main list.
Below this, you'll find your site's full domain displayed as a clickable link, opening your site in a new tab. Nearby, the "Change Domain" option and any associated tags are visible, with the capability to add more tags as needed.

Navigation: Client Area > Instance Details > Actions
Conveniently located in the top right corner, the following actions are accessible:

Navigation: Client Area > Instance Details > Menu
The details page is organized into sections accessible via corresponding buttons:
A "Hosting" button on the far right navigates you directly to your hosting area.

Navigation: Instance Details > Site Details
The default section, Site Details, displays a site preview screenshot and includes a "Visit Website" button. It automatically checks and displays the current versions of WordPress and WooCommerce, offering one-click updates if needed. This section also allows you to view the backup schedule, create backups, set up SSL certificates, and monitor website loading speeds on desktop and mobile platforms.

Navigation: Instance Details > Analytics
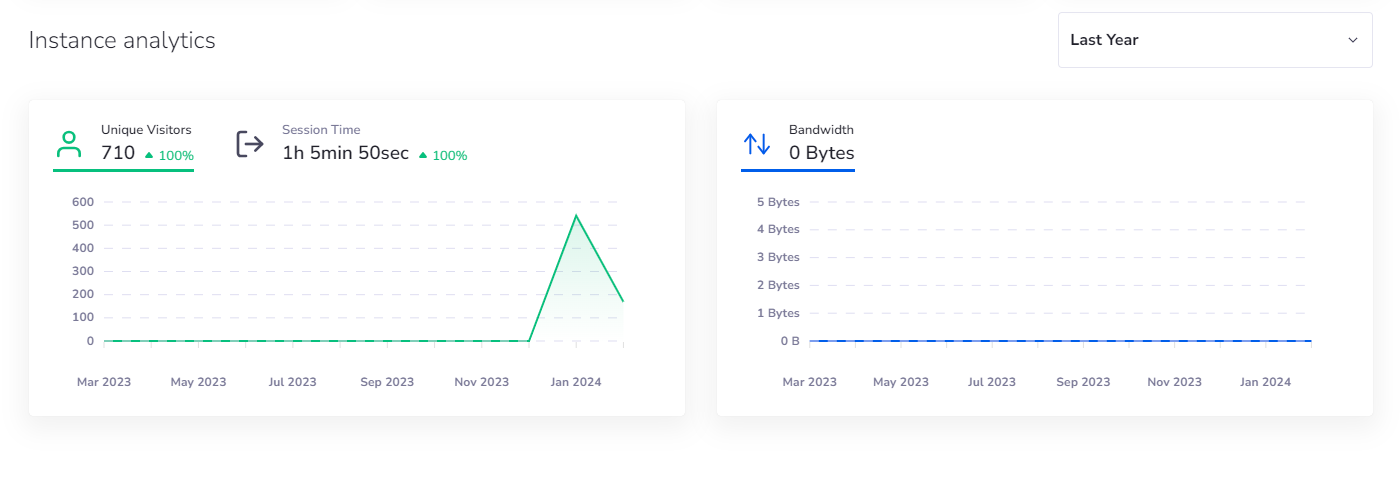
At the bottom of the page, graphical displays provide insights into traffic and bandwidth usage with customizable time scopes: Last Week, Last Month, and Last Ye